


Container Cabin Build

npaden

Well-known member
Joined
Feb 3, 2011
Messages
5,755
Location
Lubbock, Texas
I've been messing with it most of the summer between vacations and work but hadn't thought about posting it here. Reading 44hunter45's post on his truck I thought it might be worth posting mine up and might even get some constructive advice although it might be a little late for that since I'm almost done.

Think it is going to be a pretty neat setup. I haven't really added up the total cost yet and not sure if I want to. I might throw out some numbers as I go, if anyone is really interested I might try to add it all up.

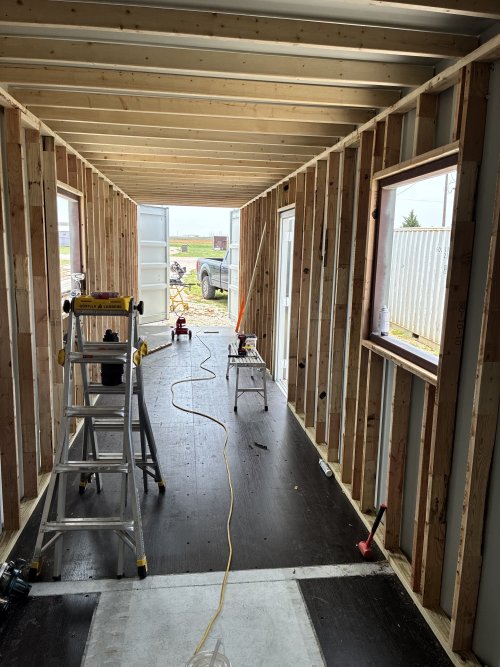
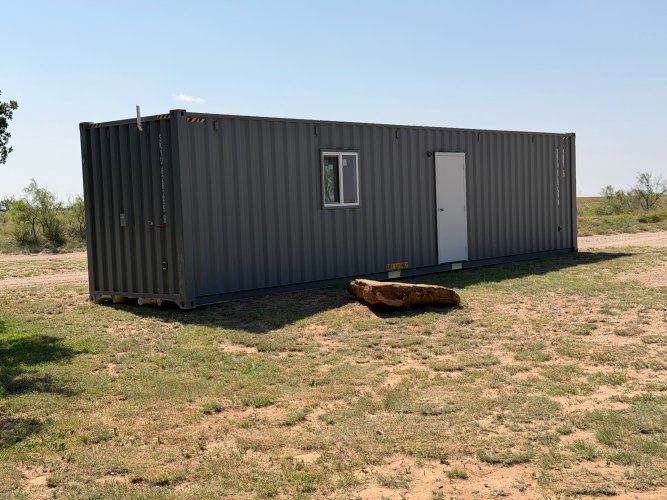
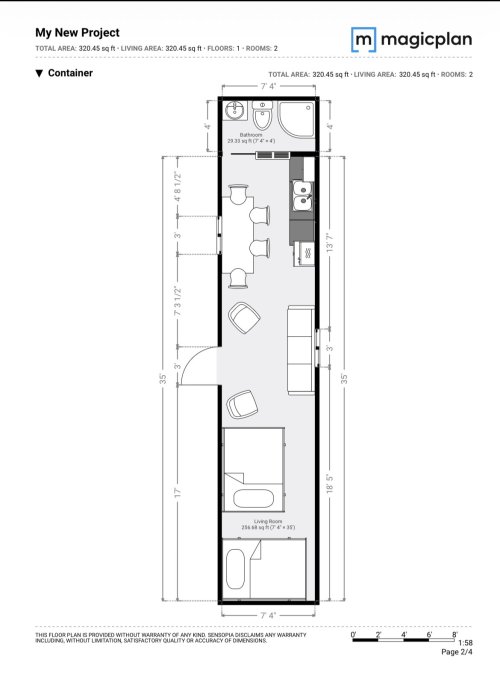
I've been shopping for containers for a while and early on I was planning on just getting 1 40' high cube and making the back half into a cabin and the front into a place to park my UTV that I plan to leave at my hunting property. I messed around with some different designs trying to figure out bunk placement and things like that and quickly decided that a 20' cabin was going to be pretty cramped and a 20' parking area was going to be fairly cramped too. Probably could have made it work but decided I was going to spring for 2 - 40'ers. One to make into a cabin and one for parking the UTV and it will also fit the tractor if I decide to occasionally leave it up there.

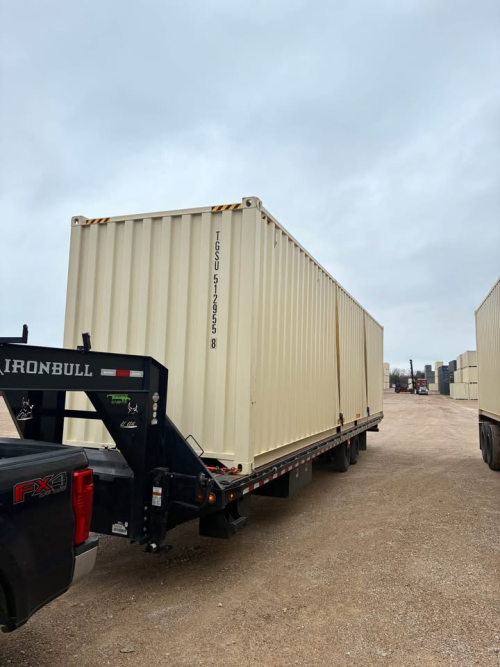
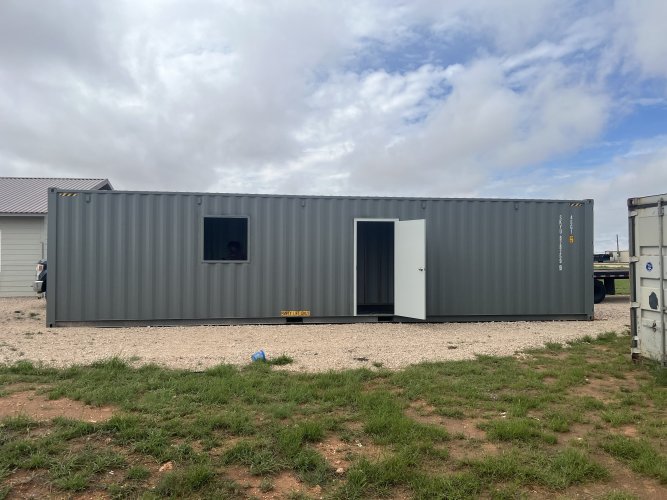
Found a good price on a container from a guy actually 100 miles south of me but it looked like it was in great shape and even with shipping it was a little cheaper than others I'd been seeing. $4,800 plus $200 delivery.
1788186396164.png

He also had some multi trips that I figured would be good enough to park the UTV and tractor and only wanted $3,600 for them and we talked it through and for an extra $400 he would deliver the 1 trip to my house and let me work on it over the summer then take them both up to Paducah to put on my place up there. $9,000 turn key. Seemed like a pretty good deal.

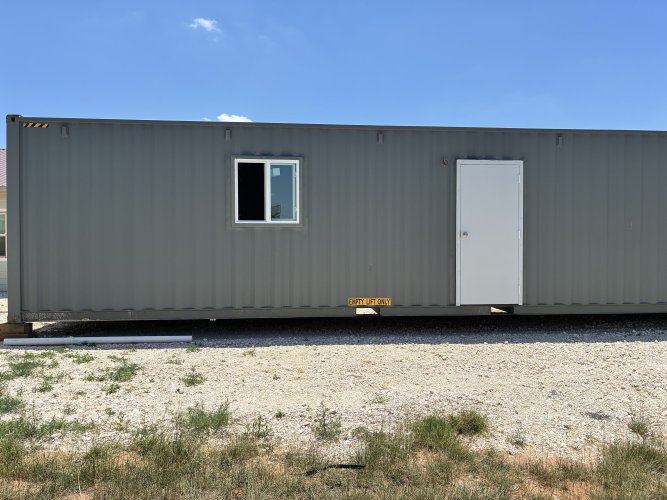
I did some looking around and planning trying to decide how I was going to do this. Looking at door and window kits specifically for a container they were very expensive and although I own a welder I would not claim to be a welder at all and cutting and welding in a door frame seemed a little over my pay grade. The door kits were somewhere just north of $1,500 and that's what I was leaning toward and I asked the guy with the containers if he puts doors or windows in and he said he would do it for $1,800 for a steel door and $500 for a 36"x36" window frame. Doing the math that didn't sound to far out of line if I value my time and he showed me pictures of other doors he had put in so I told him to go ahead with the door and windows.

I priced out some windows and was having some trouble finding exactly what I wanted and asked him about it and he had a guy that did windows and he got me the exact windows (vertical sliders instead of horizontal sliders) for $400 for both. He said he would go ahead and install them for me too.

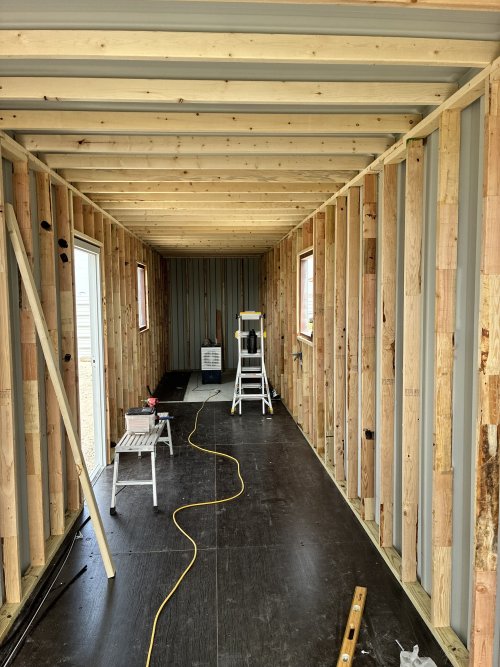
This guy is a great guy and we are texting back and forth and talking about turning it into a cabin and I asked about if he knew anyone that would do the spray foam insulation and he said yes, $1,800 for 1" thick. That got us to talking about framing it out and he said he could do that too. He quoted me $1,000 for materials and $1,000 for labor to put studs along the exterior and frame out one interior wall. I told him that sounded great to me and my $5,000 container was rapidly climbing in price but with my summer plans the more I could get done at a reasonable price the better and that would give me more time to get it finished out.
 
I love these show as you go threads.

Would you ever consider a cover over your house to add summer time shade?

I'm looking forward to considerations given to awnings, porch, exterior lighting and electrical as well.
 
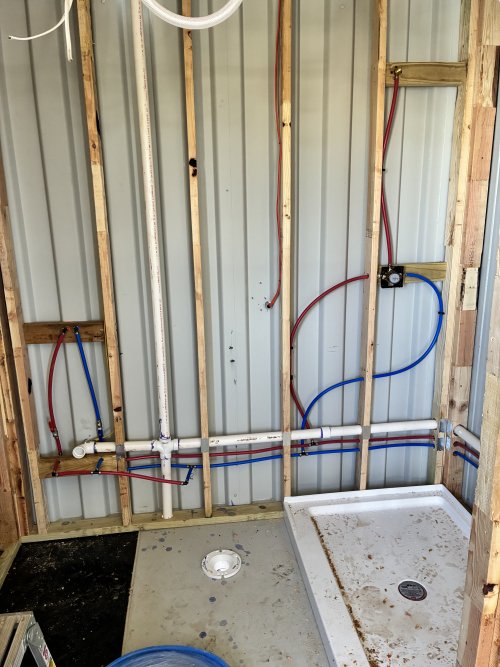
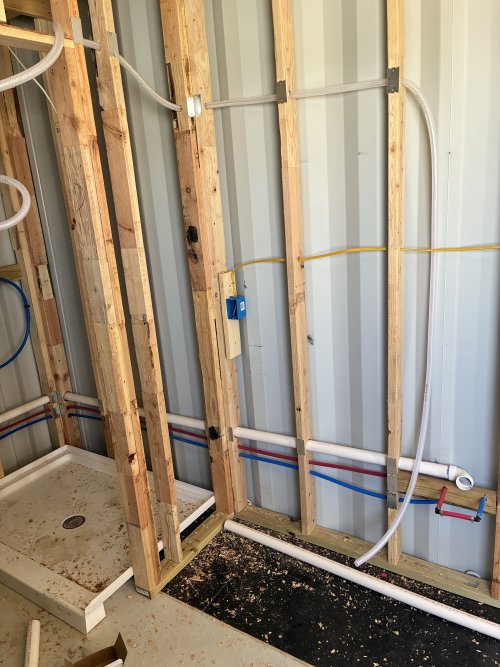
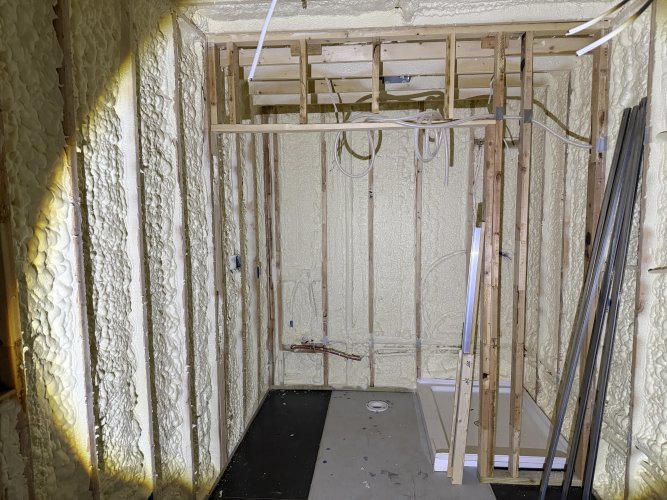
I have a nephew who is an electrician who owes me a few favors so I made plans to go down there with him to get the electric roughed in and asked the container guy if he had any interest in doing the plumbing rough in. He says sure and quotes me $500 for labor. That seemed too low and I told him that but he said he is wanting to get into doing more of that kind of stuff and will take pictures and use it for references to show others if they ask so he thinks it is a fair number. He said he has done some plumbing work in the past and it is pretty straightforward so I give him the go ahead. I used AI to help plan it out and make a punch list of materials and brought them with me to meet him and introduce him to my nephew who was going to go back down there later to do the full rough in.

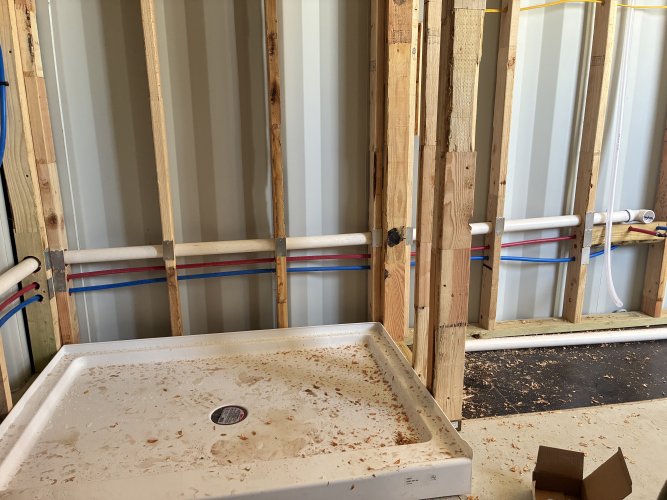
Before you know it the electric and plumbing rough in is done! I kind of like just paying people to do some of this, especially when they do a good job and are very reasonable on their labor.

IMG_1887.jpegIMG_1888.jpegIMG_1886.jpeg

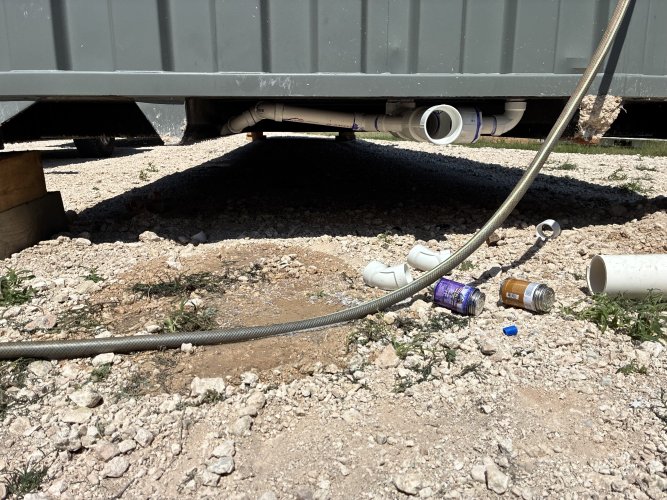
I was pretty impressed by his "P Trap" for the shower. Not enough room for a true trap so he just creatively used some 90s to get it so that there would be water blocking the sewer smell coming back in through the shower drain. If that doesn't work it is close enough to the back of the container that we can dig down and get under it and put a real one in. Shouldn't have that much issues with a 1.5" shower drain clogging I wouldn't think.

80366676783__E9F27DDD-418A-46B3-A558-119C6FF0B2FD.jpeg


Got the windows put in.IMG_1896.jpeg
 
Last edited:
I love your build but you will fight moisture in that steel box until the end of time. So make sure you have adequate ventilation.

Half of my earthly possessions were destroyed 5 years ago by leaving them in one of those godforsaken containers (Left my stuff in there for 1 year).
 
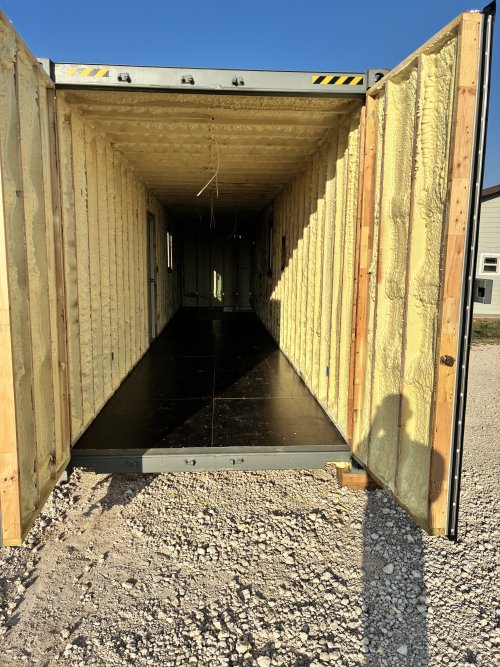
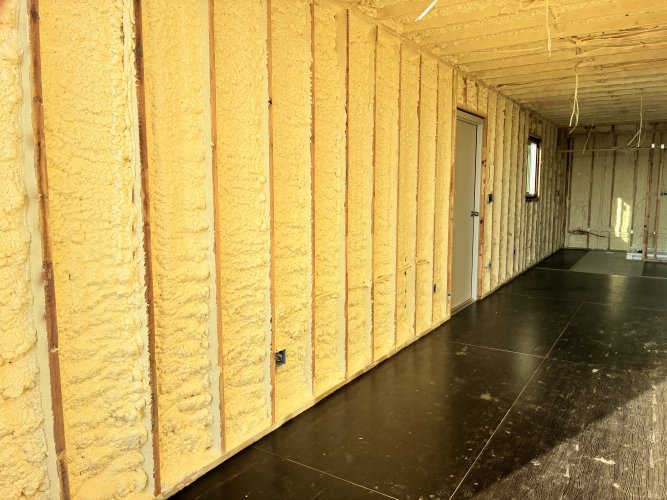
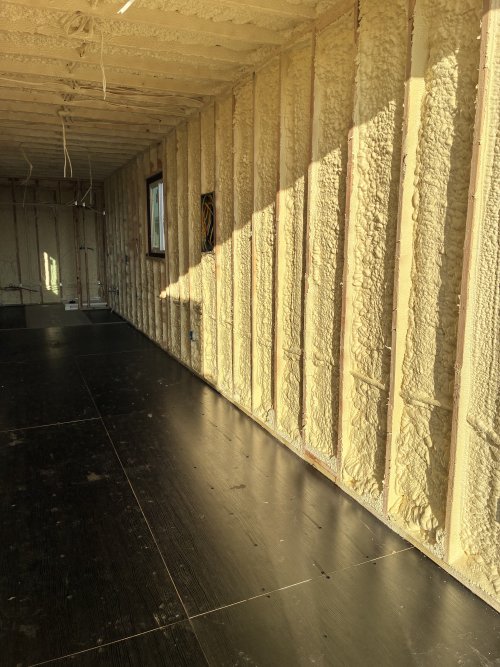
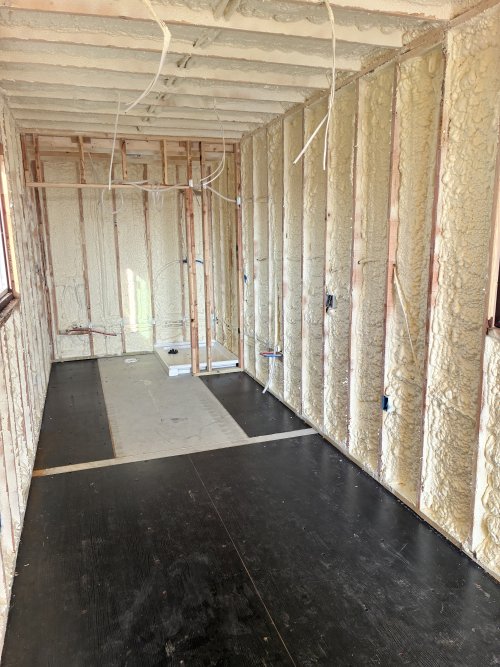
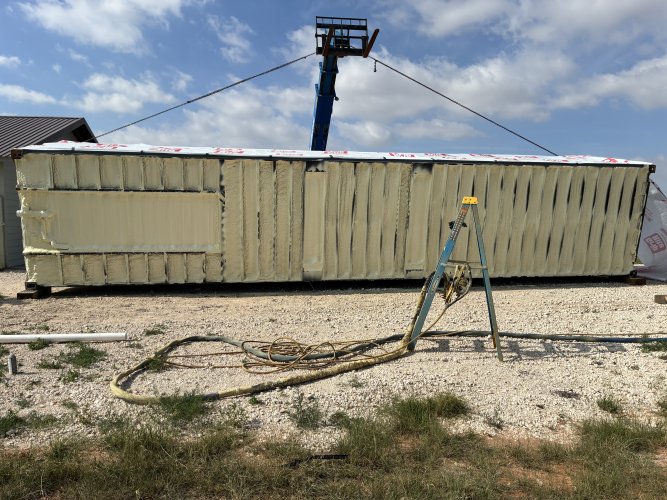
We went back and forth a bit on insulation. I ended up deciding 2" would be worth the extra price and AI talked me into going ahead and spraying the bottom of it too. Not sure that was worth the price when it was all said and done, he had to bring in a lift to tip it over to get the bottom sprayed but I don't have to second guess whether I should have done it or not now.

Price on the insulation was $3,000 for the 2" walls and ceiling and $900 for 2" on the bottom. Plus $500 for renting a forklift to tip it over. Kind of crazy that the insulation was going to be almost the same price as the container but in Texas heat there is no way to do it as a cabin without insulation.

Lickety split and they are done with the insulation.IMG_1928.jpegIMG_1930.jpegIMG_1929.jpegIMG_1931.jpeg

I never understood how he was going to use a forklift until he sent me the picture.

IMG_1904.jpeg
 
I love your build but you will fight moisture in that steel box until the end of time. So make sure you have adequate ventilation.

Half of my earthly possessions were destroyed 5 years ago by leaving them in one of those godforsaken containers (Left my stuff in there for 1 year).
It is pretty dry here and hopefully the insulation is going to solve that. So far I haven't seen a drop of condensation in it even after a couple of the light rains that we've had.
 
I have never seen 2x4's like that before. Looks like a great start to a cabin. Between work and age I am getting into the era where I don't mind paying to have stuff done also especially if it will save me some time
 
Looks great. Looks like price wise it beats about any option to have a cabin short of cutting logs on site.

I do think you sold yourself a bit short on the interior drawing. Likely a little bit less furniture will fit than your drawing shows.

I know the container houses can come out well. A lot of job sites here have ones they buy commercially made. Very common for onsite offices but bunk units also are common in construction.
 
So the container guy is done with his part, like 2 weeks start to finish and it gets delivered to my house for me to work on and things slow WAY down.

You can see the vent stack on the back there and the water inlets. He pressure tested the water lines before they did the insulation.

IMG_4088.jpeg

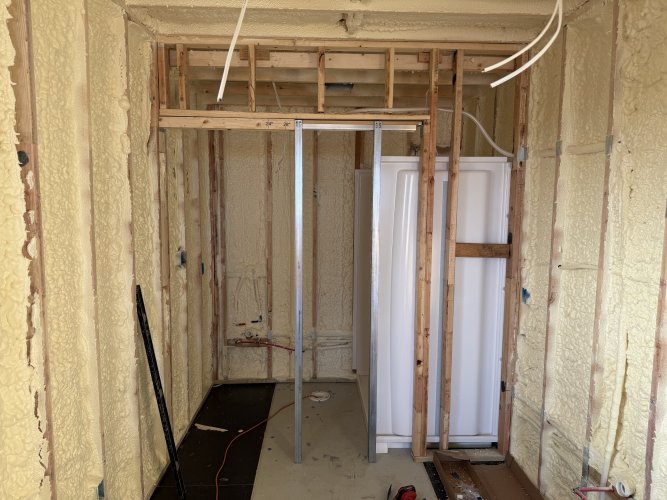
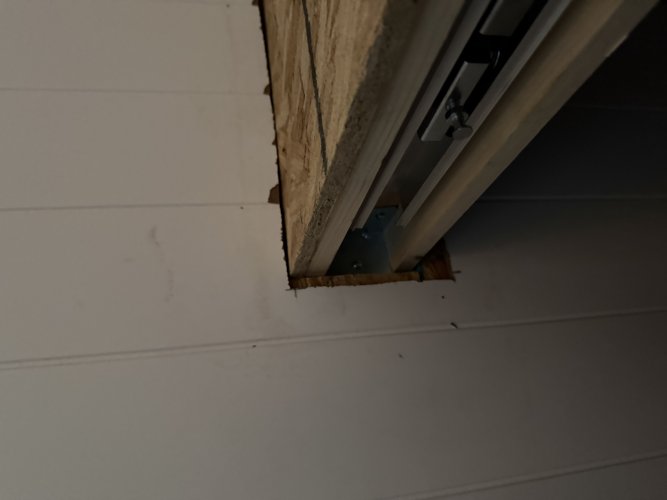
One of the first things I had to do was change the header up on the pocket door since I had told him the wrong height. Not terribly difficult but kind of tricky without taking the entire wall down. The drain hose there is for the mini split condensation line.

IMG_4090.jpeg

I really should have got some lighting put in there to work at night. The days have been very hot and even with the insulation it gets warm in there on a 100+ degree day so I've been mostly just working in the mornings and evenings on the weekends that I'm actually at home.

Got a good deal on some shower panels off Facebook Marketplace. Got the frame of the pocket door in. Went back and forth on the pocket door and how to connect the shower wall and ended up just moving the middle split studs over to the side to line up and screwed drywall screws straight into the split stud. I went through all kinds of other options and that ended up being the simplest and probably the best.

IMG_4118.jpeg

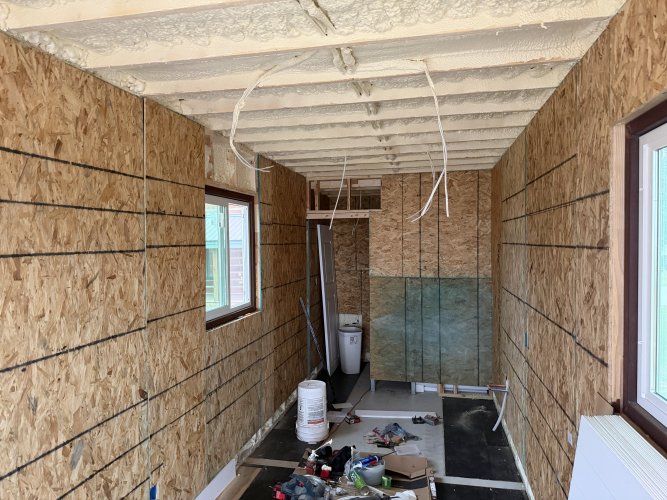
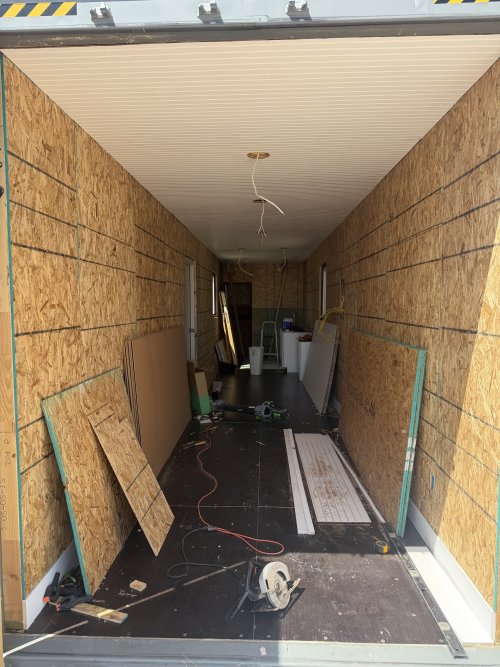
Probably overkill but it they are cheap and gives me way more options if I want to change things down the road so we sheathed it in 7/16" OSB. Actually got my son to help me a little bit on it. Using 1x6 pine for the baseboards so the 8' OSB fits perfect.

IMG_4117.jpeg

Hung these sheets by myself so took a picture to show my son. Kind of a messy job site looking back on it.

IMG_4121.jpeg
 
Last edited:
Progress was slower than I thought, lots of other things going on and limited help from my son.

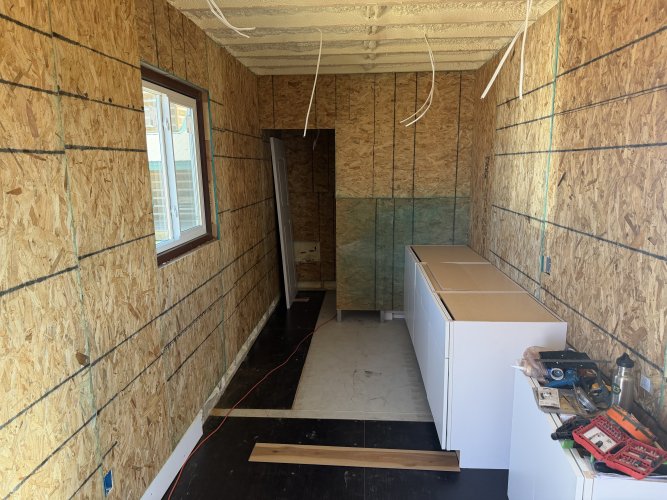
Ordered some plywood cabinets from Home Depot at 60% off supposedly, but roughly $1,500 for the 3 base cabinets and a wall cabinet seemed like a decent deal. WAY better than the $1,000ish for the particle board ones. Just sliding them in place and seeing what it is going to look like. Going to do some floating vinyl floor planks just for the kitchen and bathroom area. That marine plywood is actually really nice for the rest of the floor. If it weren't for that odd bare metal spot I would have just left the floor alone.

IMG_4147.jpeg

I used AI pretty extensively to help talk me through little things. For the most part it really was helpful. On some things it was just plain wrong.

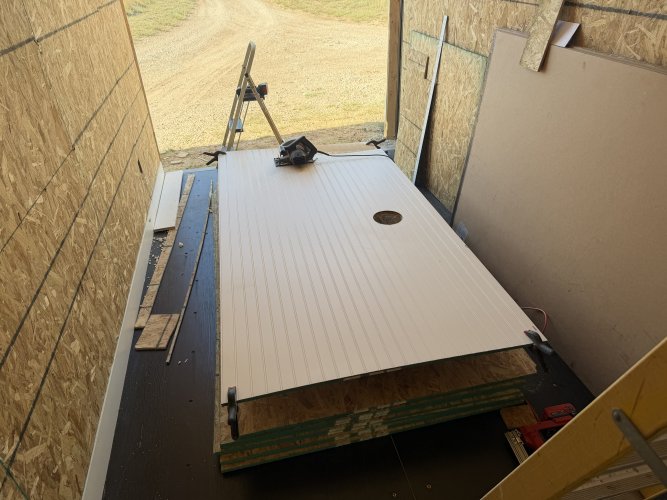
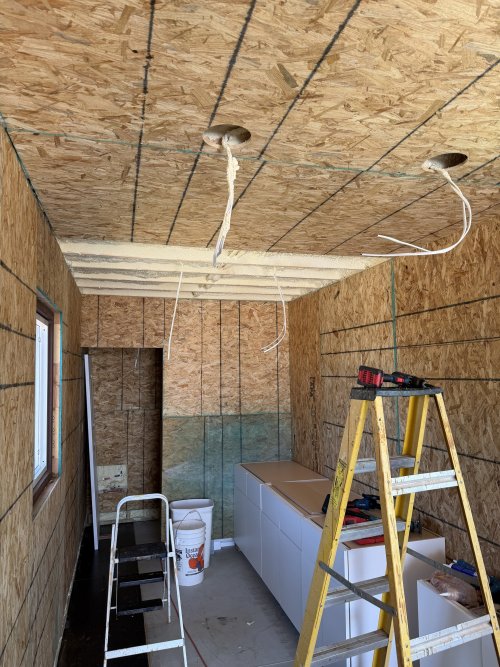
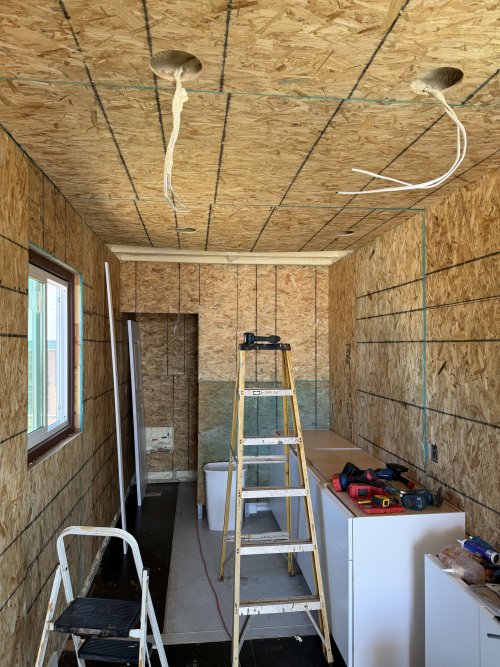
A lot of it ends up being collaborative where it didn't come up with the final solution but it threw something out there that helped me take that next step that got me there. One of those was clamping the future bead board ceiling paneling to the OSB that was going on the ceiling and cutting the holes for the recessed lighting in both at the same time.

I originally thought it was going to be 7'4" wide inside but the 2" corrugation actually takes 2" more out of each side so it turns out to be almost exactly 84" wide inside dimensions with the OSB put up on the walls so having to cut the top of of each sheet of OSB and paneling for the ceiling.

IMG_4142.jpeg

After cutting and clamping the bead board paneling we numbered them and set them aside while we put the OSB up. I had to have my son help on this so things slowed down even more getting our scheduled aligned.

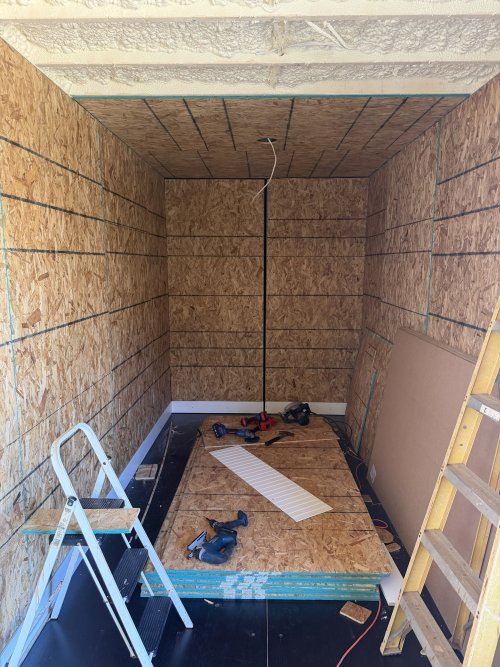
Here's the first 2 sheets up.
IMG_4149.jpeg
 
Vacations to Italy and Greece and then to Montana put a halt to things for almost a full month. My son was home for most of that time but nothing magically got done without me there.

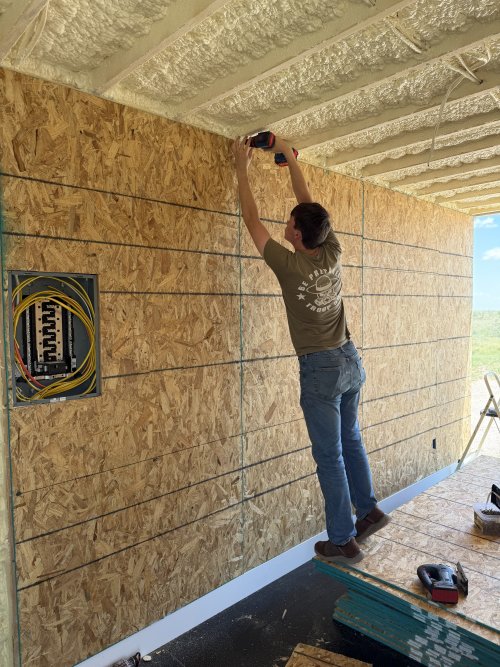
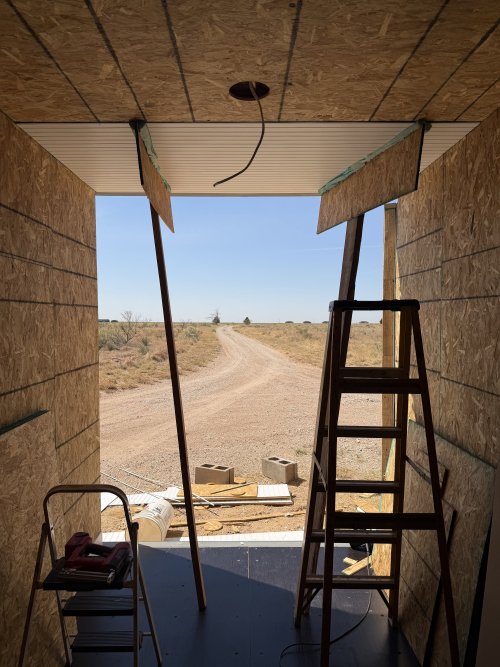
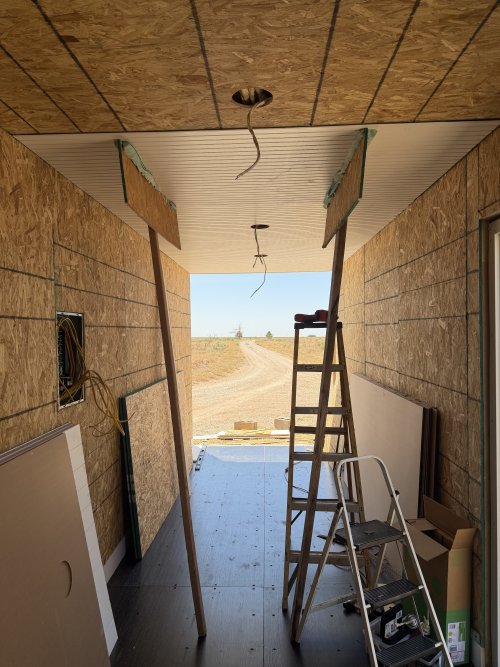
We made some more progress on the ceiling together but it was slow going. Then I figured out a trick that allowed me to put the OSB up on the ceiling by myself without his help. Here is the first sheet I put up by myself. I took a picture and sent it to him and he was amazed because it was quite a bit of effort putting it up even with both of us.

IMG_5461.jpeg

Showing him that I was able to get the next one up too, even with the holes for the lights. The trick was to screw some screws into the wall about 1" below the ceiling and shove the OSB up there onto it then walk up the ladder on the other side and get it in place and get that first screw in on that side. Then I cold go back over to the side with the screws holding it and get it anchored in. Came up with that one all on my own. That last piece is sagging in this picture because I hadn't gotten all the screws in yet.

IMG_5462.jpeg

Back from vacations and getting to where we really needed to make some progress on things. This is where AI led me astray. It told me to buy some Loctite Power Grab adhesive and it would be so strong and tacky that it would hold the bead board ceiling up for me while I nailed it with my brad nailer. Well there is a huge difference putting up 3/16"ish MDF paneling vs. OSB as the paneling is flimsy and wants to sag. And the Loctite Power Grab was absolute crap. It was more like caulk than adhesive. We struggled and struggled and got it almost all the way up and went to move to nail the last 1/3rd of it and while we moved the entire sheet fell off the ceiling even with the Power Grab and about 30 brad nails in it.

Pretty much a full morning wasted. I had some words with AI and we ended up switching to Loctite PL Premium 3x adhesive and it was SO much better! We finally got smart and built some dead man holders and that was SO much better! A very rough start, but we ended up getting the first sheet on to stay!

IMG_5544.jpeg

The holes didn't line up 100% perfectly but overall I think the pre cutting them clamped to the OSB was a big help and worked more than adequately. Maybe 1/16" out of lining up perfectly on a few of them.

With the dead men holding up the ceiling and the actually good adhesive things went MUCH smoother and faster.
IMG_5545.jpeg

I was able to even do it by myself without help so had the ceiling up over a weekend.

IMG_5546.jpeg
 
Last edited:
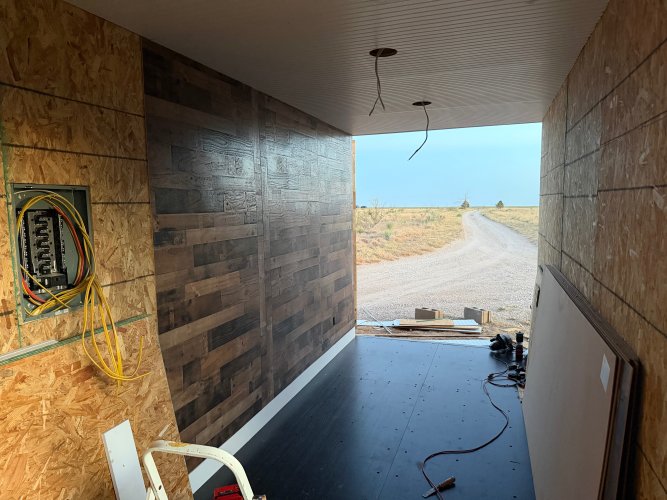
I had been waiting on the walls until the ceiling was up, not sure if that was good or bad. I thought that way I wouldn't drop a sheet of paneling and scratch the wall but something I hadn't thought about is that 3/16" of paneling on the ceiling meant that my perfectly planned 8' sheets of OSB and paneling on the walls wasn't perfect anymore. We had to cut about 1/4" off the top of each sheet of wall paneling which was kind of a pain.

IMG_5572.jpeg

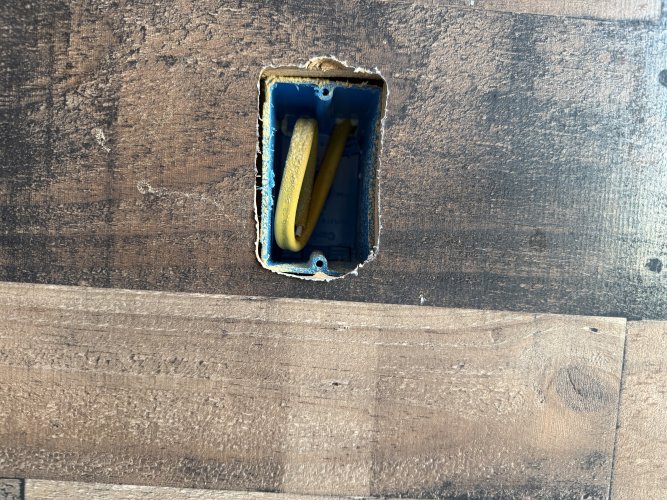
Came up with the idea of just drilling a hole in the middle of where each outlet was and then coming back with a plunge router to open them up and that saved a lot of tedious measureing and jig sawing like we had done with the OSB. Also had originally not planned on sheathing the entire thing in OSB (I stupidly thought I would just put the paneling right on the 2x4's but AI talked me out of that) so the outlet boxes are recessed 1/2" further than they should be but we are buying some spacers for that. This was my first attempt at the plunge router for a proof of concept. Not that pretty but the face plate will cover it up.

IMG_5571.jpeg

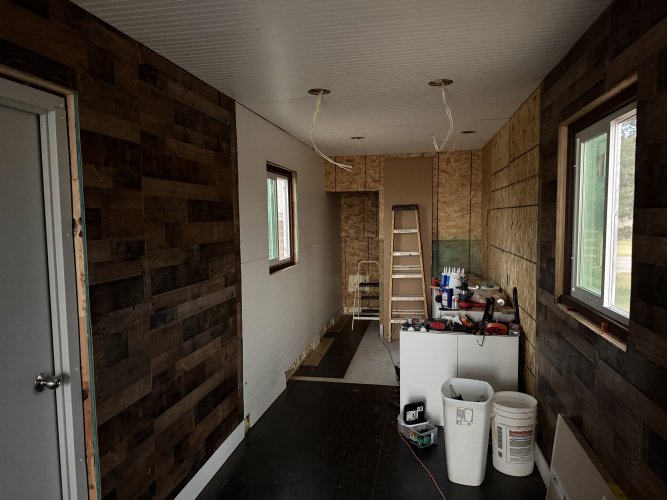
Making some good progress on the walls. Using the PL Premium 3x adhesive and about 50 brad nails on every sheet. Used the crap out of that blower - with the floor and the paneling and things the sawdust was like ice if you didn't keep it blown out.
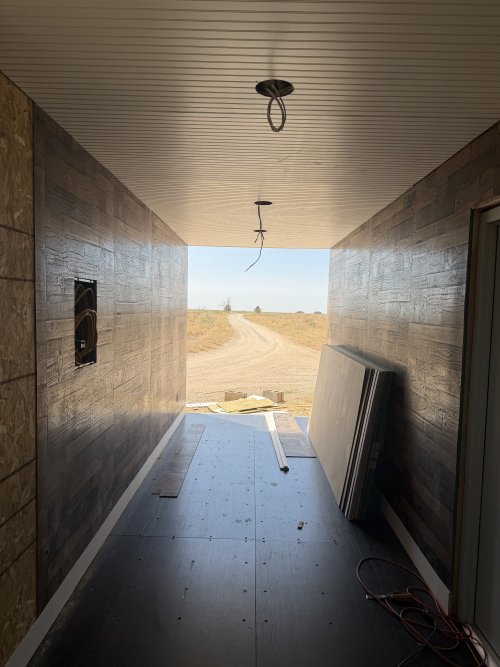
IMG_5581.jpeg

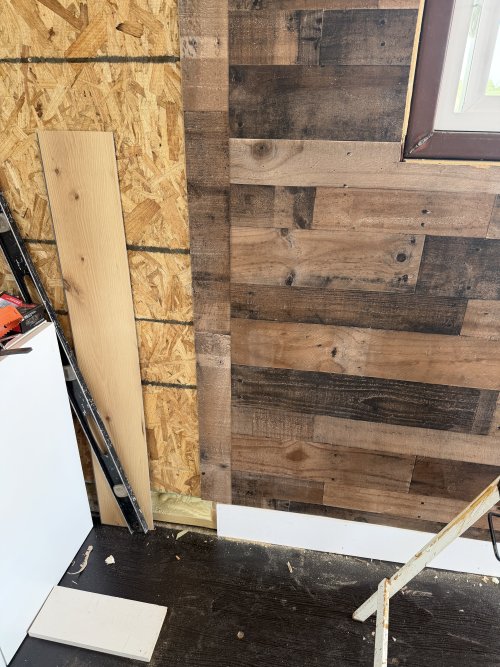
Trying to decide on the transition from the "living area" to the kitchen. The way things lined up this wall is going to stick 2" out into the kitchen. I am doing the floating floor so the baseboard has to go up about 1/4" so notched out the paneling there in the bottom left corner. Also tore a rip that piece of paneling there by the corner of the window and glued it back together. I debated replacing the entire sheet but didn't think it looked terrible.

IMG_5618.jpeg

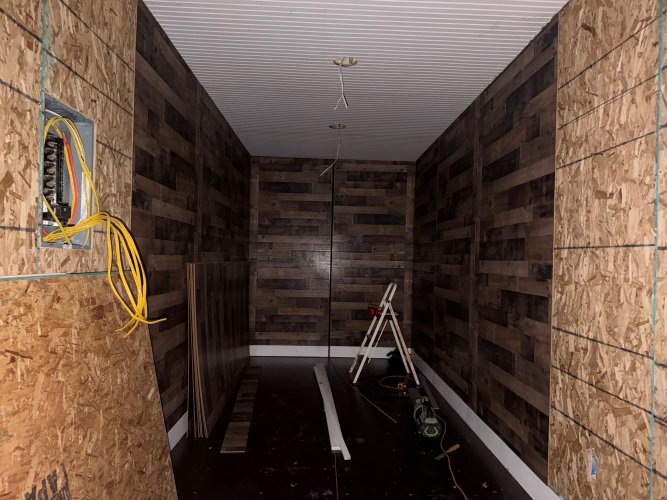
Making good progress. The walls went up pretty easy.
IMG_5617.jpeg

Switching to a shiplap paneling for the kitchen and bath area. Running it horizontally for the shiplap style. The baseboard in this area will have to go in after the floor is done so the pieces there were just being used for spacers.

IMG_5626.jpeg
 
Getting close to caught up now. I'm by no means a carpenter, but this is a container hunting cabin so functionality is most important but I do want it to look decent.

Trimming out the pocket door took some mental gymnastics for me. Finally ended up deciding to just continue with my trim for the rest of the container and sticking with 1X pine. Here's me double checking how thick it will be with the paneling on it.

IMG_5650.jpeg

One mess up that I need to fix. I was just assuming this whole thing would get covered in trim but that middle part where the pocket door will slide up against the wall is going to show. I'm going to have to cut a sliver of paneling and wedge it in there just right. Thinking that with it just being the thickness of the door showing and with some paint over it that it won't be that bad. The sides will have trim for the channel for the pocket door to rest in when it is closed.
IMG_5652.jpeg

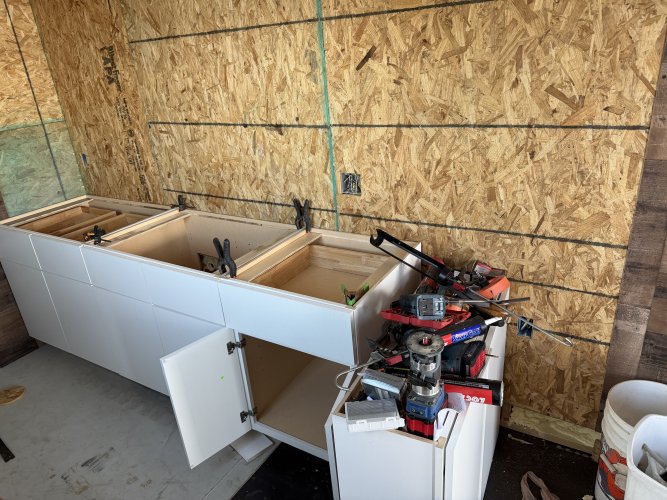
Getting the cabinets ready to screw to the wall. This took some thinking as well for me. AI told me I needed to screw the cabinets together before screwing them to the wall but I blew that off. It seemed like more trouble than it was going to be worth.
IMG_5678.jpeg

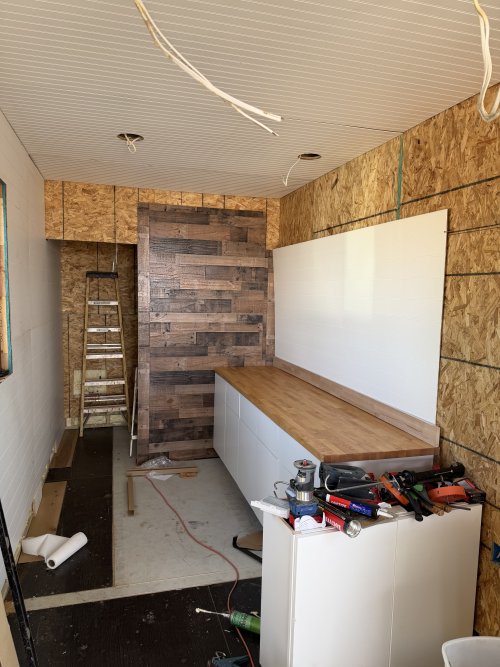
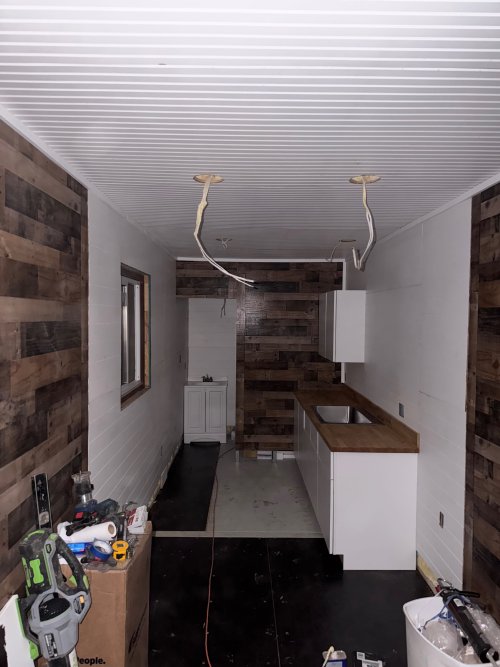
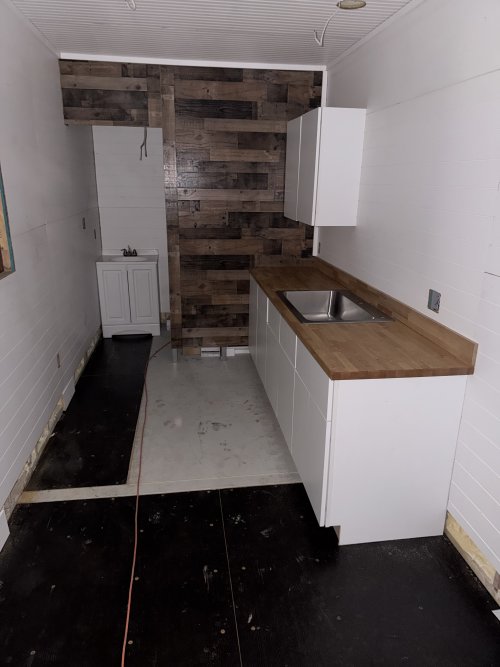
Trying to get the visual of everything before committing. The plan is for that interior wall to be an "accent" wall to offset all the rest of the white from the kitchen. The butcher block counter is actually laminate. AI said that real butcher block would expand and contract too much in a cabin that sat un-airconditioned and not heated most of the time. The backsplash is real but since it is so small I think it will be okay.
IMG_5683.jpeg

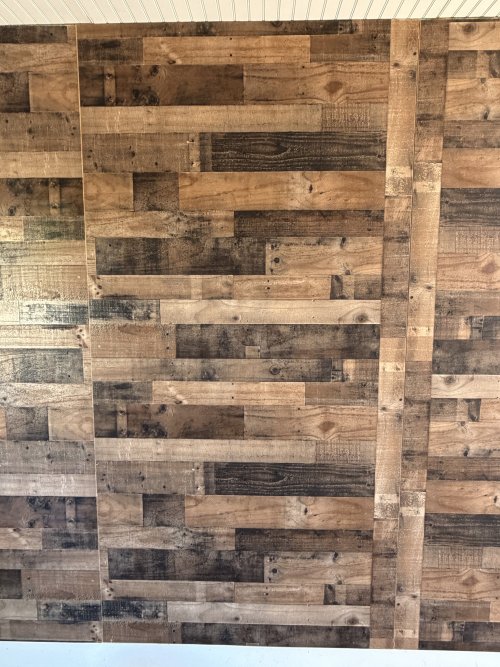
Here's a close up of the paneling. It has that vertical piece on the edge of each sheet so I flipped them back and forth so that the vertical edge thing goes up against each other. I thought that looked better then having it ever 4' and them all looking exactly the same.
IMG_5680.jpeg
 
Really getting close to caught up now. These are all from this weekend.

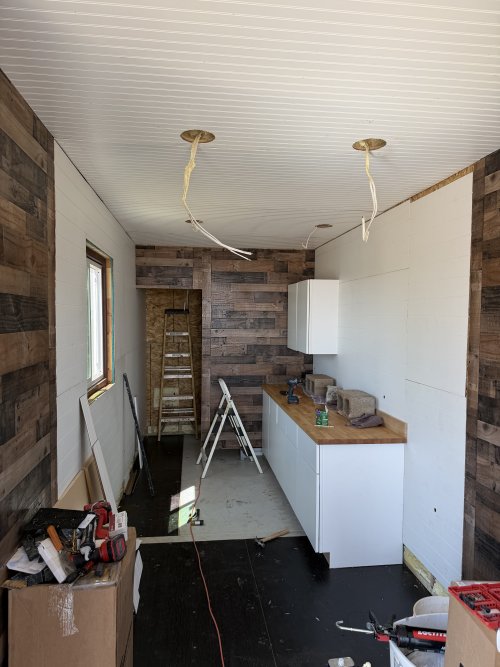
Got the paneling all put up for the walls, got the cabinets screwed to the wall and shimmed. That gap at the top of the last piece of shiplap is giant but I double checked and my 1x2 trim will JUST cover it. I wanted to match the shiplap lines up and that was about the only way to do it only using 2 sheets.

IMG_5687.jpeg

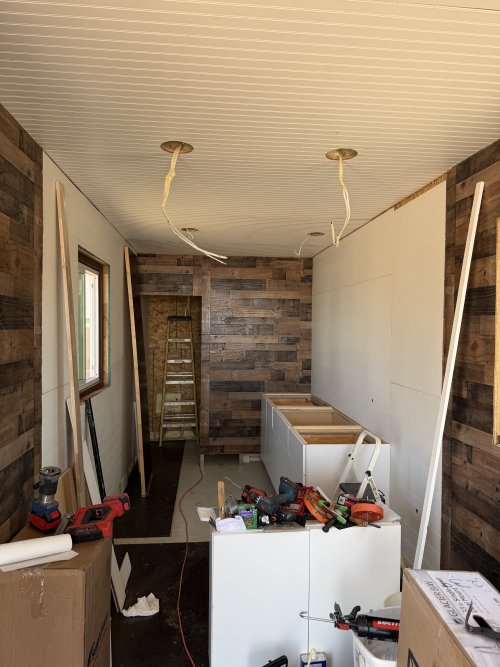
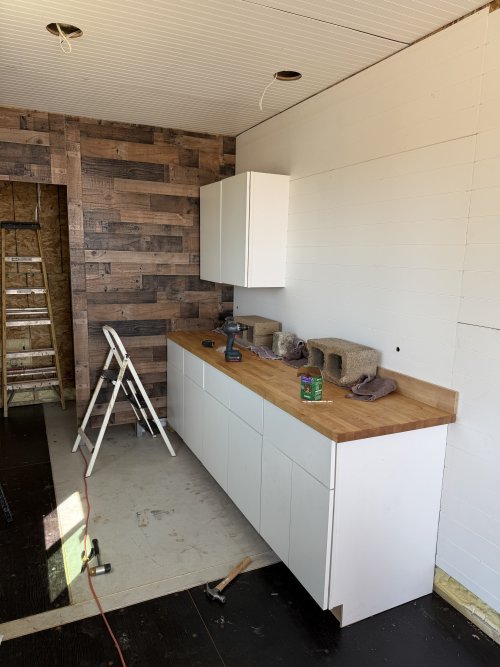
Got the countertop down and the backsplash on. The cinder blocks are holding the backsplash tight against the wall as the only thing holding it on is silicone. Got the wall cabinet hung.IMG_5688.jpeg
IMG_5689.jpeg

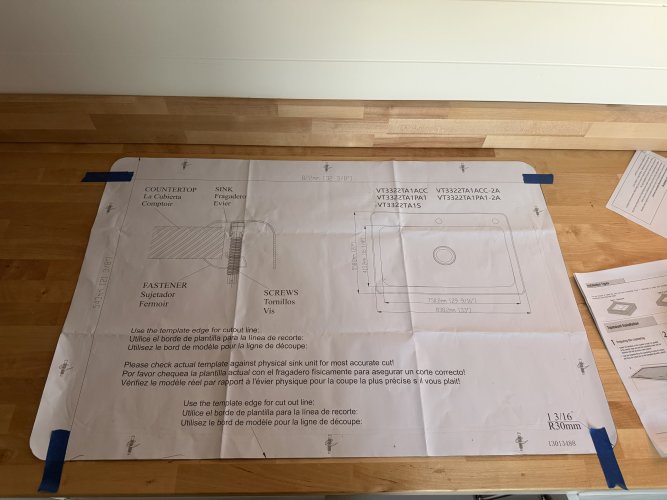
Big mistake this weekend was putting the backsplash on BEFORE cutting the hole out for the sink. Because I put it on there first, my jigsaw couldn't get close enough to the back of the counter to get the hole cut. I tried moving the template forward far enough to get my jigsaw back there but then it was too far forward and didn't stay on the inside of the cabinet. Cutting the rest of the counter out took like 3 or 4 minutes. Cutting the back 33" out took me almost an hour with the oscillating saw. Cutting through a 1 1/2" laminate countertop with an oscillating saw isn't fun.
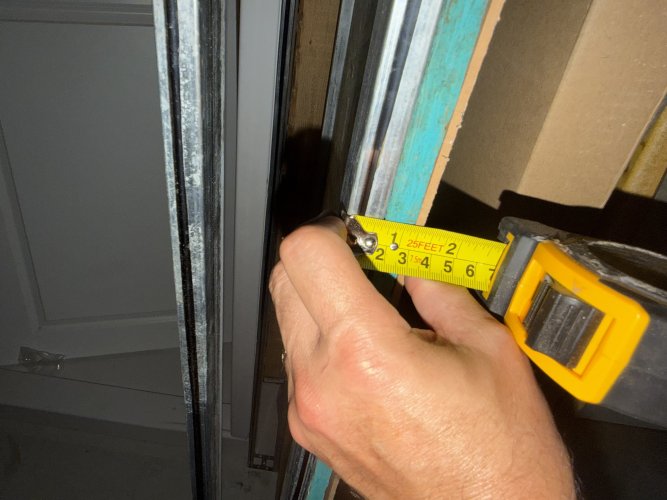
IMG_5692.jpeg

But I got it done. Got the paneling up in the bathroom also and the 1x2 trim around most of the ceiling. Bathroom vanity isn't installed, just checking how it is going to look.

IMG_5698.jpeg
IMG_5704.jpeg
 
Last edited:
Looks cool! Any reason you didn’t put a window in the sleeping area? Seems that would be a good idea both for full compartment ventilation and airflow, as well as fire safety.
 
Very nice, I love the container stuff that people do now....I only see one issue, I think you should have used 2 of them and not just one, but that is the great thing, you can add on another one later if you like. It just seems a little cramped.
 
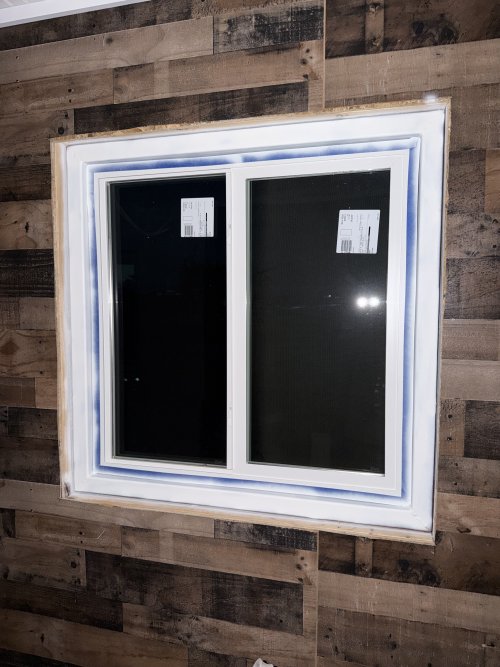
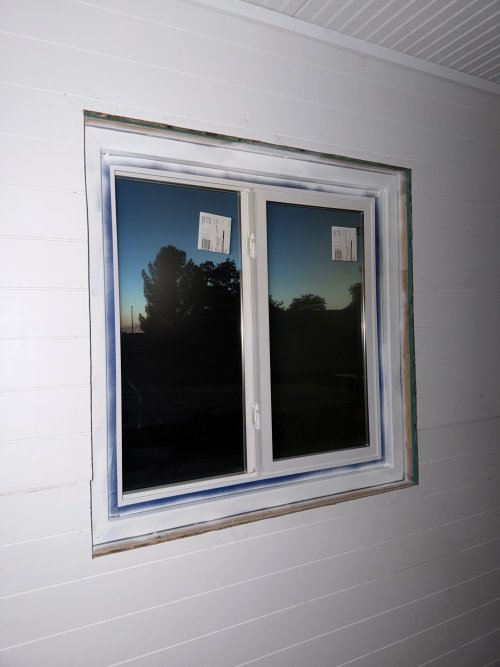
At one point I had actually thought about just leaving the bare brown metal exposed on the windows but AI convinced me I should paint them white. Went ahead and bought some metal primer spray paint and put a couple coats on the windows. AI tells me that I can just use regular latex paint on it now.

IMG_5713.jpegIMG_5717.jpeg


Doing some planning on the floor.

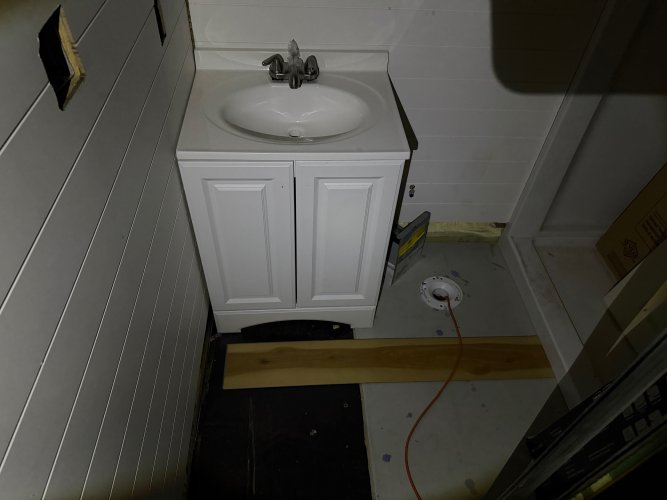
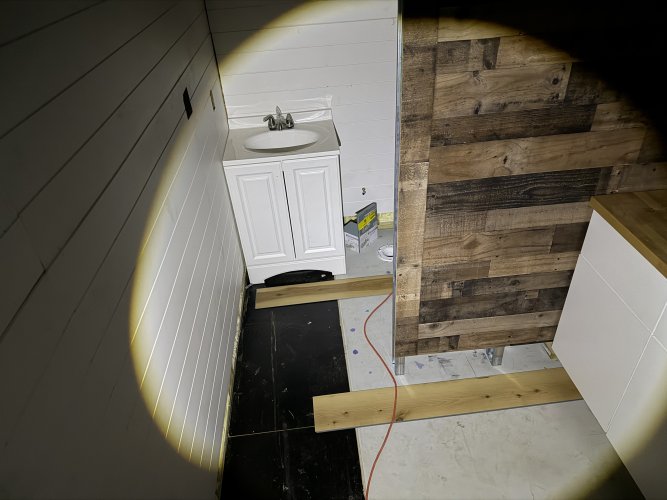
On the bathroom I'm going to put the floor under that little vanity, AI says it will be okay even though it is a floating floor as long as I don't crank it down on it. Same with the toilet, just going to cut around the flange and AI says it will be okay for the toilet to sit on the floating floor as long as it isn't just super cranked down on it. It would be a lot easier if that is true.

Going to just run the floor up to the shower pan and run a bead of clear silicone along it.

Think I have it sorted out to where there will no hand cut lines showing, the hand cut lines will end up under the baseboards.

You can see my other mistake from Saturday, somehow I measured the incoming toilet line as 8" off the bottom instead of 7". I'll need to sort out how to fill that hole or plug it with something.

IMG_5718.jpeg

Going to start the floor with a full plank there just on the kitchen side of the pocket door and then work back to the bathroom wall and forward to the end of the kitchen.

Think I sorted out a way to have hardly any waste at all the way I cut the planks. It's 60" across there and the planks are 48" so I will cut 2 at 24" and 2 at 12" and 36" then alternate a 36" and 24" piece with a 48" and 12" piece. That area is 8' long so that's where most of the flooring will be going.

IMG_5720.jpeg

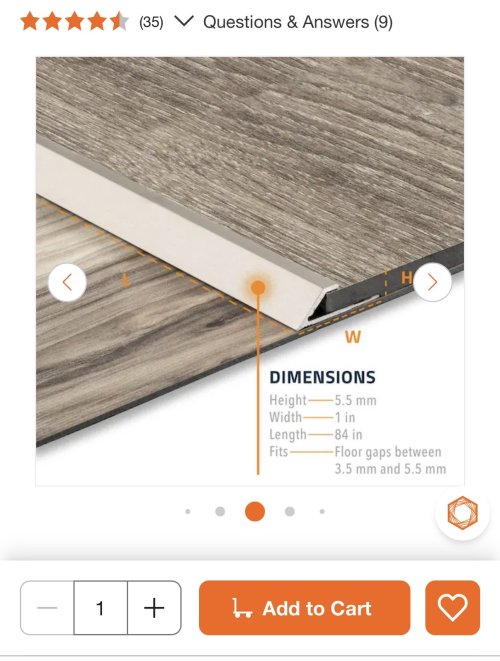
This is what I'm planning on using where the vinyl floor ends at the end of the kitchen and then I'm leaving just the marine plywood for the rest of it.

IMG_5722.jpeg
 
Last edited:
From the front of the vanity to the end of the bathroom I can't figure out how to not have a hand cut line showing. I think I can trim it with the oscillating saw if I can't make a perfect cut with the circular saw.

Why can you not hide that cut under a piece of base as well? If it were me, I would run 2 pieces of trim vertically as door stops, creating a channel for the pocket door to close into. You could run them floor to ceiling and then butt your base into them. Pocket doors don't seal up very well anyway, so that would help immensely with privacy in the bathroom.
 
Back
Top