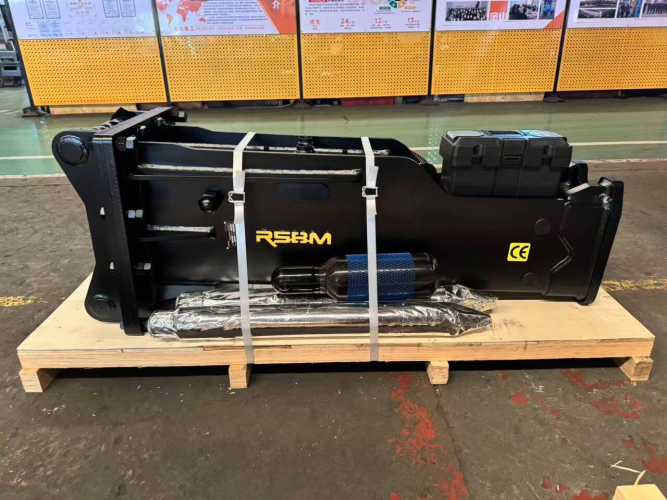
Trail building and rock breaking.

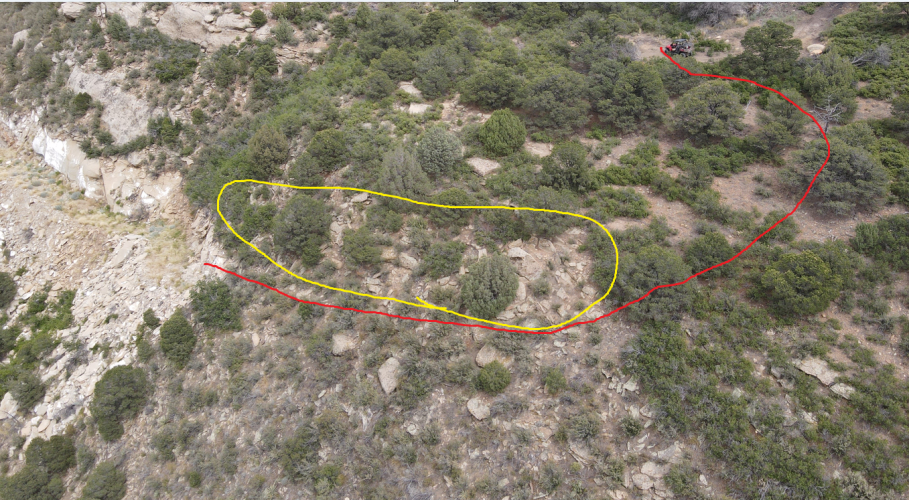
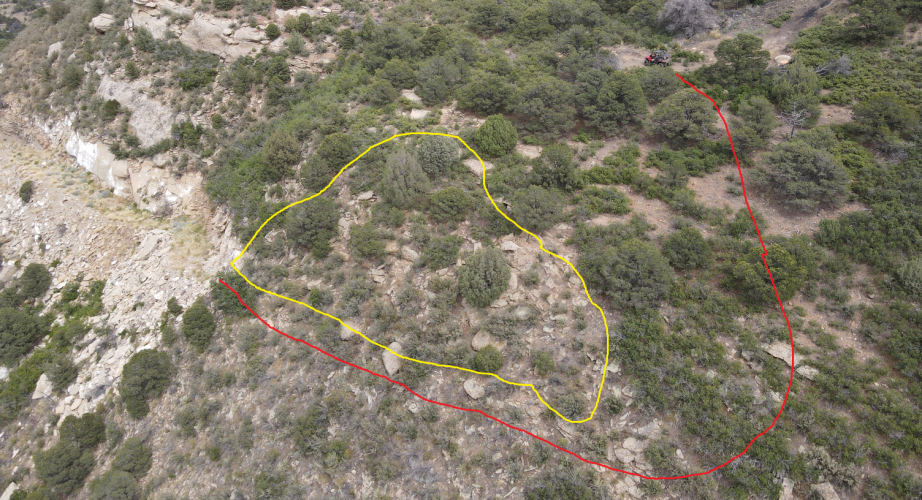
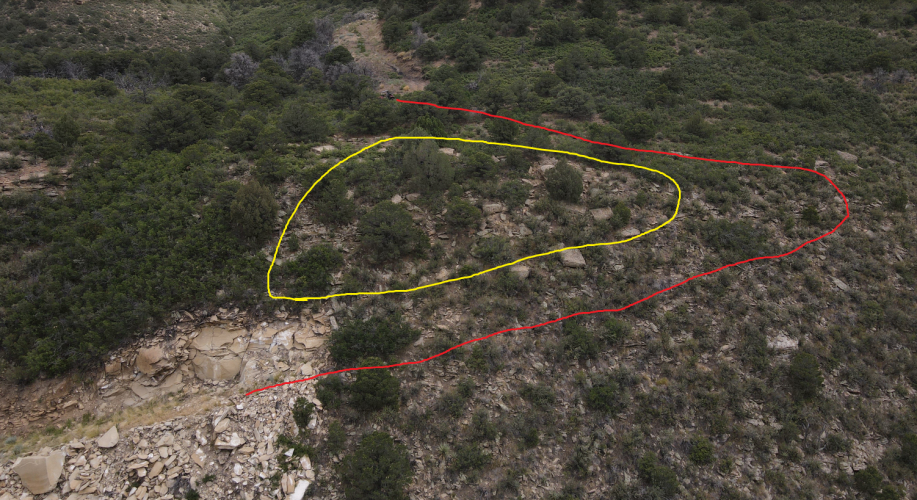
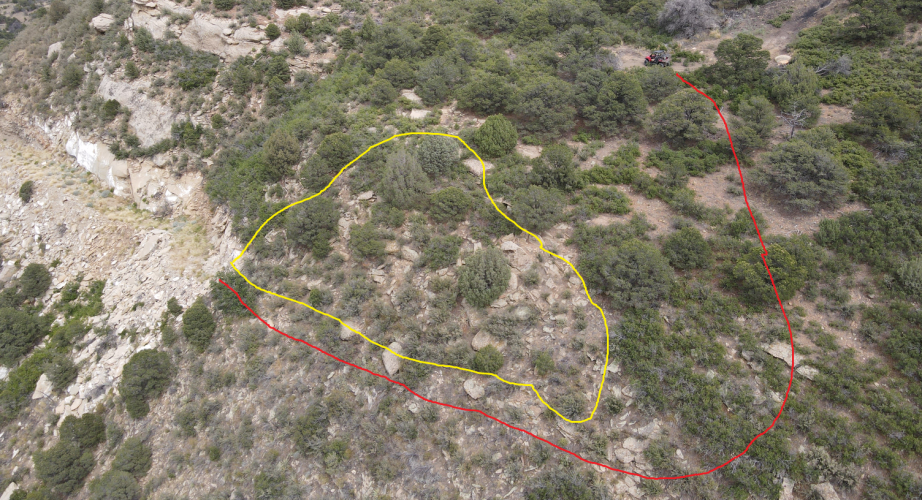
I really think it's just that first 50 yards that is going to be hard. I'm thinking if it is too hard I can drop down below that yellow circled stuff and move up after I get past it.

1792082261642.png

Updated route based on matching the 2 different angles up:

1792089836598.png
 
Last edited:
I don't work with construction equipment, but rather ag equipment. Certain implements seem to have a ton of wear and tear on tractors/machines they are attached to. Yes the thing may be rated for your tractor, but through the vibration, impacts, extra hydraulic flow, etc. it will cause other components on your excavator to wear out pre-maturely. The machine is built to dig holes. Adding impact and vibration will cause seals to fail, bearings to go out, things that are supposed to be round becoming oblong, things that are supposed to be straight bending.. that sort of thing.
Definitely going to be using some premium Moly 5% grease for the excavator and the breaker when I'm running it. I just don't think running it for 20 hours is going to destroy a nearly brand new excavator. Seems like if you put something like a breaker on a worn machine you might spring a few leaks for sure, it is going to put some stress on things. Might be a good idea to do it now while I'm still under warranty.
 
I really think it's just that first 50 yards that is going to be hard. I'm thinking if it is too hard I can drop down below that yellow circled stuff and move up after I get past it.

View attachment 419571
I live in hard rock mining country. Tons of road building, reclaiming excavation.

The gold mines have big money, big equipment, explosives, and dudes with lots of experience.

That's a big job and you will destroy your machine at best.
 
I live in hard rock mining country. Tons of road building, reclaiming excavation.

The gold mines have big money, big equipment, explosives, and dudes with lots of experience.

That's a big job and you will destroy your machine at best.

I keep looking back at the work that was already done and other than that one big rock on the side of the trail, everything else is broken into pretty small pieces. From a geology perspective I think we are dealing with a heavily fractured rock formation rather than something like heavy bedrock. The previous guy did that with just an excavator and a bucket. No breaker and no ripper. He had a bigger excavator but based looking at it most of that rock was able to be pulled apart in pretty small pieces. I don't intend to destroy my machine but I do think I am going to give it a try. I do wish I could have seen a "before" picture of the area that is already completed, I don't know if that spot looked like the area immediately above it with the big exposed rock faces or if it looked like the area in front where I need to go that looks reasonably passable with just a few big rocks. I think that worst case scenario I have to stay flat for that first 50 yards and stay to the side of the cliff that will be there if the rock is solid.

I can't move up much faster than that anyway to keep a reasonable slope. If I had to go through the area circled in yellow I think it would be a chore but I think I can stay under that. Right at the top where I plan to make a switchback to turn back there is a shelf that might pose another problem but I think these are things I can get through, just think they will take some time and patience and pondering as I get to them.

1792088800423.png
Putting both pictures in the same post so you can see them without scrolling back and forth too much:

1792090214817.png

If I can get through that first big rock right at the start of the red line I think I have a legitimate shot at getting it done.
 
Last edited:
I'm rooting for you, but even just some tanerite and shooting practice would be worth a try. I want videos of how it goes with the breaker.
 
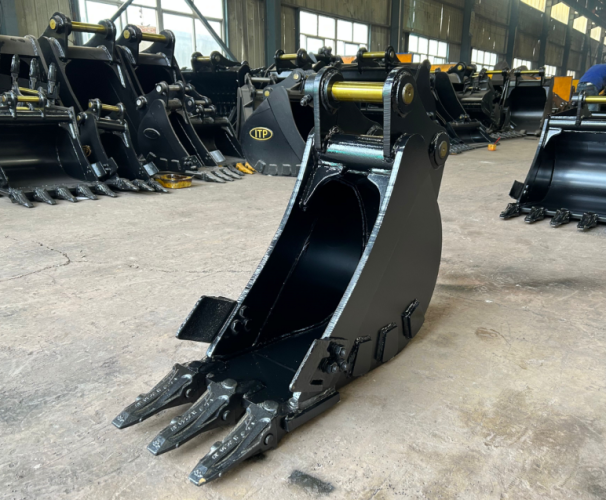
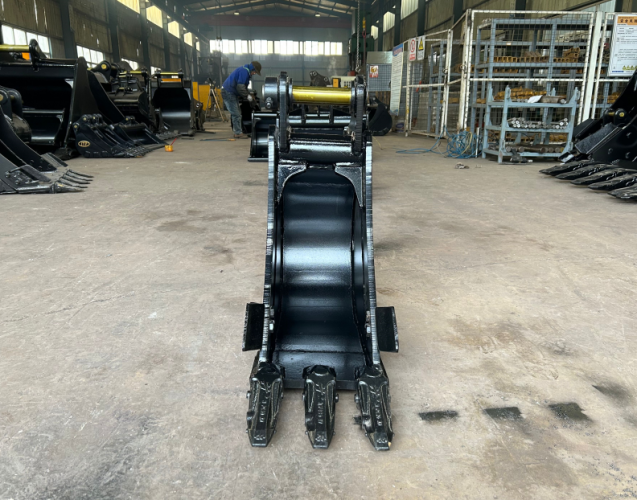
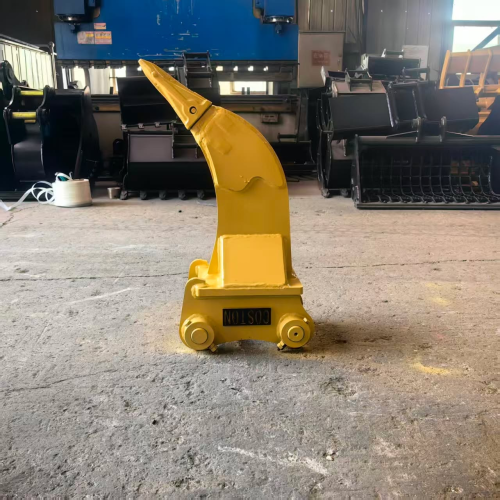
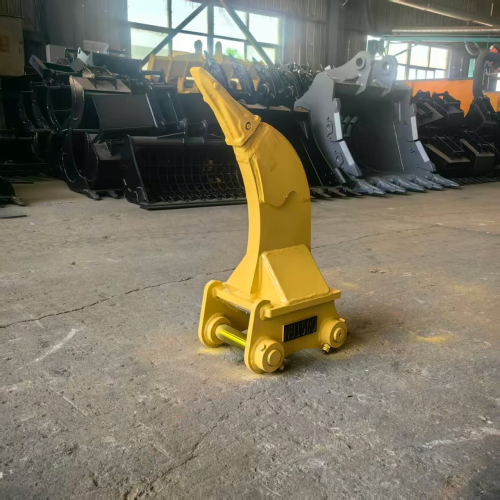
I just pulled the trigger on the road building package today. 12" bucket with rock chisel teeth, and 3 regular teeth plus 3 spare rock chisel teeth, Ripper with rock chisel tooth, plus 3 spare teeth, 750lb 68mm hydraulic breaker with 4 chisels - 2 wedge and 2 moil, extra set of bushings and 2 extra sets of seals + a 100mm post hole driver bit with a cup that will up to a 3.5" pipe for post driving. Allocating shipping and tariffs I'm at $2,050 for the breaker including all the spare parts, $750 for the 12" bucket and the 6 extra teeth, $550 for the ripper and the extra teeth and $220 for the 100mm post driver bit including delivery to my door. All of them are going to be fabricated for the exact specs of the TB 250-2 pin setup so will swap out easy with my manual quick coupler.

1792095567016.png1792095612740.png
1792095647254.png
1792095711856.png1792095759490.png
Breaker comes with the nitrogen tank and filling setup.

Clock starts ticking today - should have them before Christmas.
 
Last edited:
What is the actual geology? It’s hard to tell from the picture. Appears sedimentary as a whole but seems to be breaking igneous. Big difference for breaking them. Not familiar with the rock where you’re at.
 
What is the actual geology? It’s hard to tell from the picture. Appears sedimentary as a whole but seems to be breaking igneous. Big difference for breaking them. Not familiar with the rock where you’re at.
According to the Google:

————————————

Based on your location northwest of Trinidad, you are exploring the steep slopes flanking the Raton Basin. The prominent rock layer shown in your photos is a classic exposure of the Trinidad Sandstone.

Geological Features Visible in Your Photos

• The Rock Type: The massive, blocky, light tan-to-buff colored rock you are standing against is fine- to medium-grained sandstone. Notice how it breaks into thick, flat slabs and large, angular boulders along the trail.

• Depositional Environment: This layer represents ancient beach and shoreline deposits from roughly 68 million years ago (Late Cretaceous). As the vast Western Interior Seaway retreated eastward out of Colorado, it left behind these massive blankets of sand.

• Stratigraphic Position:

• Directly beneath this sandstone layer (further down the slope or hidden under the talus) lies the dark gray Pierre Shale, which formed in deep marine water.

• Directly above this layer (higher up the ridge covered by the scrub oak and pinon pines) is the Vermejo Formation, which contains old coastal swamps, mudstones, and coal beds.

• The White Staining: The prominent white chalky patches coating the rock faces are efflorescent salt crusts (often calcium carbonate or gypsum). They form when rainwater seeps through the porous sandstone, dissolves natural minerals, and leaves them behind as a residue when the water evaporates on the cliff face.

Landscape and Terrain

The aerial drone shots perfectly capture the cuesta landscape typical of the Trinidad area. The hard, weather-resistant Trinidad Sandstone forms a protective shelf or cliff layer. Where it gives way, gravity creates the massive fields of loose rock (talus slopes) that you had to navigate with your UTV.

——————————————

According to the Google machine it should break pretty well with a hydraulic breaker but we will see.

———————————-

Strategy for a Sandstone Bench Cut

• 1. Attack the "Bottom-Toe" Joint First: Do not start by hammering the top of the rock face. Instead, place the breaker point right at the inside corner where your proposed trail floor meets the vertical hillside (the toe of the slope). Sandstone naturally breaks along horizontal bedding planes. By punching into the toe, you will undermine the rock above it, causing large sections of the cliff face to fracture and drop down onto the trail floor on their own.


• 2. Rake the Fractured Slabs: The Trinidad Sandstone is highly jointed. Before you turn on the hammer for every single foot of advancement, use your excavator bucket to aggressively curl and lift the rock face. You will likely find that the hammer has already pre-fractured the rock several feet deep, allowing you to pry away large, intact blocks without using the breaker at all.


• 3. Beware of "Blank Blasts": Because this sandstone is somewhat compressible, if you hold the hammer down in one spot for more than 15 seconds without the rock cracking, stop. If you keep hammering, the chisel will simply drill a hole, create a pocket of sand cushion, and send destructive shockwaves back up into your excavator's boom, pins, and hydraulic seals. If it doesn't crack quickly, reposition the tool 6 to 12 inches closer to an open edge.

 
Last edited:

Forum statistics

Threads
120,216
Messages
2,253,590
Members
39,112
Latest member
hockey4life
Back
Top